
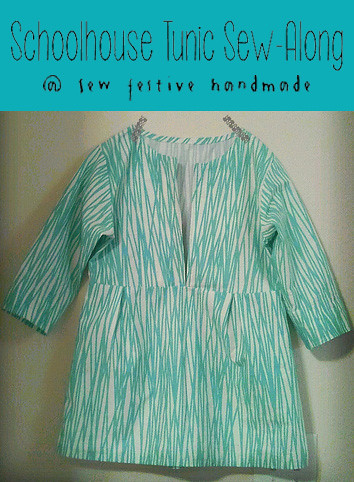
Yay it's here! Day 1 of the Schoolhouse Tunic Sew-Along! Hopefully you have your fabric pre-washed and your pattern in hand. If not, go do that and come back!
**Please make sure to read the post in its entirety before cutting into your fabric!
So let's start out by talking about the sizing of the Schoolhouse Tunic. One of the reasons that this is a great starter pattern is because it is not a really form-fitting garment, so you have a little wiggle room as far as sizing goes!
The pattern sizes run from XS to XL. There are 4 different measurements listed to help determine which size to cut. Make sure to measure yourself in your undergarments or have someone else measure you if you're concerned that you can't do it accurately yourself. Are you a quilter and don't have a tape measure? Not a problem! Use string or ribbon to measure, and then measure the ribbon with your rulers or cutting mat.
What to do if you fall in between sizes? Choose the larger size. You can always take seams in if it's too big, but there's not too much you can do if it's too small! What size do you choose if, for instance, your bust is a size small but your waist is a size medium? You have a couple options. You can cut all the bodice pieces in a size small and then grade the skirt pieces from a small at the top to a medium. What I would recommend in this case is to cut the size based on your bust measurement, as that is the only area of the body that the tunic is really fitted, and the skirt portion has lots of ease. [Ease is the amount of space built into the pattern for actually wearing the garment...it's literally the "wiggle room"]. The only time that this might not be the best advice is if you are very petite in the bust area but have very wide hips.
Ok! So you know what size to cut. Now comes the exciting part...cutting your pattern out of your chosen fabric!

Your pattern pieces come on two large tissue sheets. What the heck do we do with those things?! You can follow the instructions in the pattern and trace your desired size onto Swedish tracing paper. If you choose to do this, make sure to transfer all markings from the original pattern to your copies. When I first made this pattern I traced the pieces onto pattern paper from an old McCall's pattern I knew I'd never use, and then cut the pieces out. Then I simply cut around the pattern pieces on my fabric.

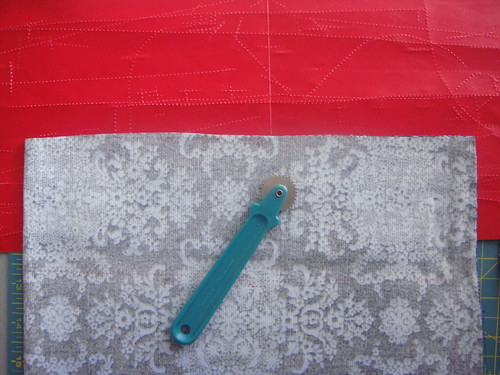
Now I use Dritz tracing paper and a tracing wheel for transferring the pattern pieces to my fabrics. I find that it's more precise and requires less work then having to make a second set of pattern pieces.
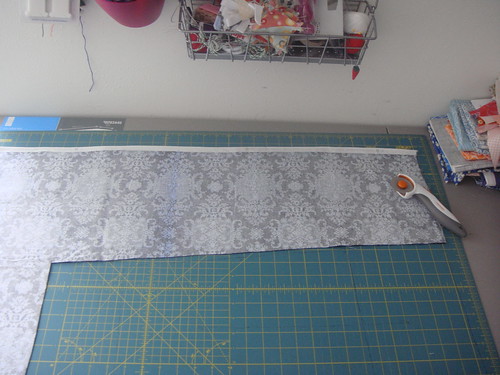
No matter which method you choose, you need to fold your fabric right sides together so that the selvages are laying together. Place the fabric on your cutting mat with the fold closest to your and the selvages laying along the top. PS, if your fabric is super wrinkly after pre-washing then you need to iron it prior to folding!
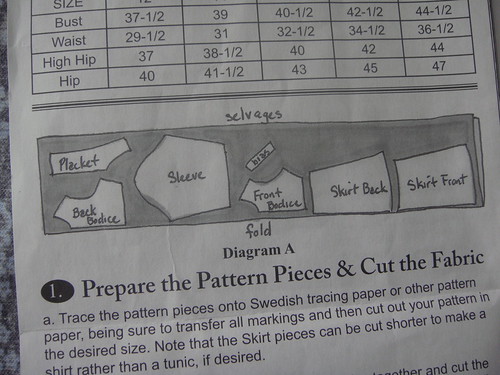
If this is your first time making this pattern and you are unsure whether you have enough fabric, I'd recommend laying all the pattern pieces out, or tracing all of them before doing any cutting. This will also help with figuring out placement, even though Meg provides a drawing in the pattern of an optimal layout of the pieces. I like to lay out all the pattern pieces that require placement on the fold, since you can't really finagle those if you start running out of fabric. Once I know that all my pattern pieces will fit, I like to only work with the amount of fabric that fits on my cutting mat.
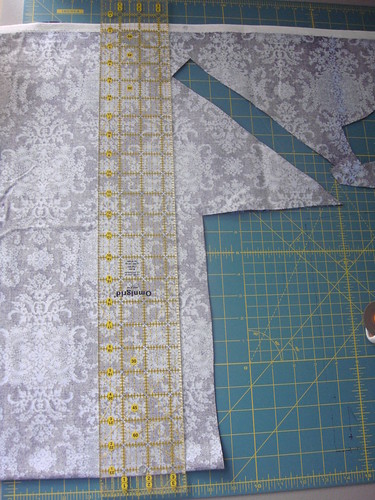
The arrows in the center of each pattern piece needs to be parallel to the selvage when tracing and cutting. The casing is the only piece that needs to be cut on the bias.
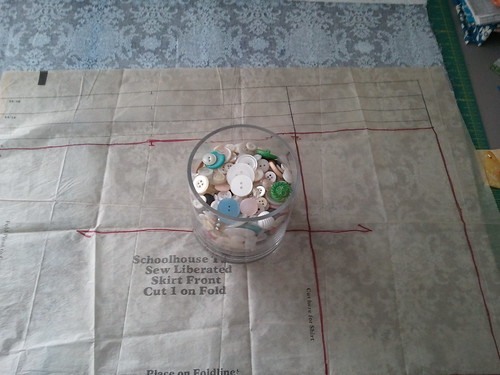
Each time you trace or cut a pattern piece out you need to weigh down the pattern paper. You don't want to pin it to the fabric because then it warps the pattern lines. Use weights, like a jar of buttons, cans from your pantry, heavy washers, etc. This keeps the paper from shifting as you trace. Once you trace your pattern piece, you don't want to shift the fabric around either.

Another reason that I really love using tracing paper to transfer the pattern is because it's super easy to transfer the pattern markings. If you're just cutting around the pattern pieces then you have to find another way to transfer the markings, such as making pin holes and then using chalk. With the tracing paper you just have to run the tracing wheel over the marks.
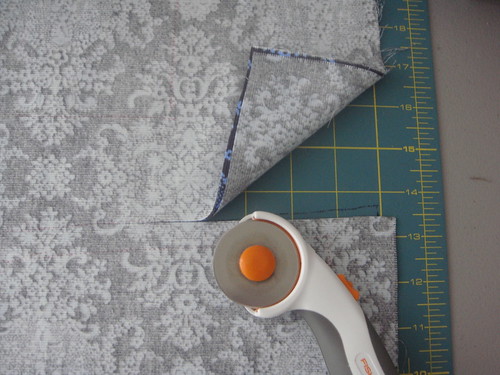
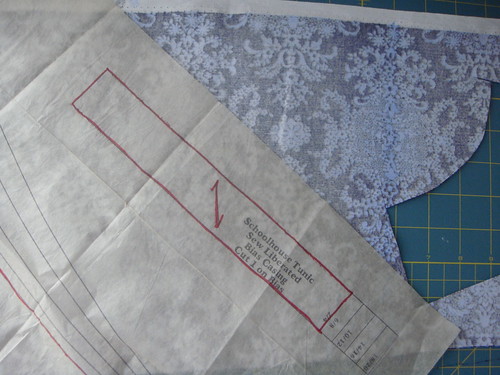
You need to move around the fabric instead of moving the fabric itself. I've put myself in some pretty weird positions at my sewing table so that I could reach a side of a pattern piece without disturbing the fabric. I would also recommend not pulling any fabric away until you've cut around all sides. Also, in the above picture I cut the back skirt, then without moving the whole fabric piece, I cut out the placket.
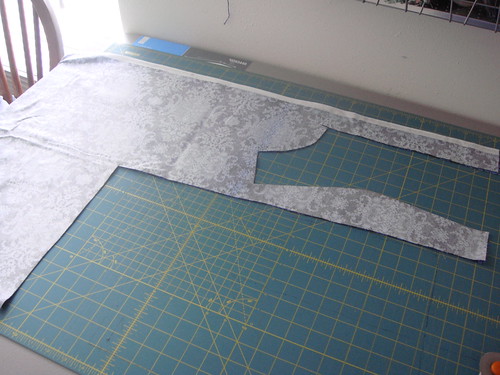
At this point I was able to trim the fabric evenly on the edge, move it over, and continue tracing and cutting out pattern pieces.

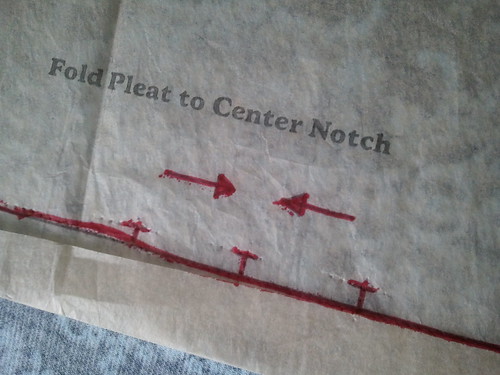
There's one last important step in preparing the fabric pieces! As you trace the pieces, you've been transferring the markings. But the majority of the pattern pieces are either cut on the fold or are two pieces. So the other side of the pattern needs the markings! If you use tracing paper, the easiest way to accomplish marking the other side of the fabric is to lay the tracing paper right side up and lay the fabric over it. Then run the tracing wheel over the marks that you made on the front side of the pattern. Voila!

Mark each pattern piece with a little piece of paper and pin it to the fabric so that you can easily identify the pieces for next week. Then stack it all up and pat yourself on the back for being one step closer to a handmade garment!
**Important things to consider when tracing and cutting the pattern:
-My instructions were based on tracing the pattern as is.
-On my pattern I lengthened the skirt pieces to be dress length, and the sleeve pieces to be almost long sleeved. To do this, first make sure that you will be able to fit additional length into your cut of fabric. It's very upsetting to lengthen the skirt pieces and then realize you don't have enough fabric to cut out the sleeves. To determine how long I needed the skirt to be for a dress, I held the tissue pattern piece up to myself to see where it hit. I drew a line about 5 inches below the end of the tunic length, and then used a ruler to match up the side pieces with the hem, making sure to continue the slight A-line shape of the skirt. I'm about 5'2 and the skirt now hits at the middle of my knee with a fairly deep hem. This is the same method I used on the sleeves [to add length you re-draw the line on the flat side of the sleeve piece; the curved side is the shoulder].
-If you want your tunic to be sleeveless, just leave off the sleeve pattern pieces. You will then need to finish your armholes with double-fold bias binding, which we will discuss later, so make sure you either have enough fabric left over to make some binding, or find a suitable additional fabric to use.
-Other alterations can be made as we go along. I'll be putting some of those alterations in another post, including changing the neckline and variations on finishing the bottoms of the sleeves.
Please, please ask any questions you may have, and if it's something that other people can learn from then I'll answer it in the comments!
No comments:
Post a Comment
Messages from friends :)